
KDIGI CMS documentation
Guides for installing, running and integrating KDIGI CMS, the AI-native open-source headless CMS. Editors and AI agents manage many websites from one system. Start with the quick start, or jump to the part you need.
SEED_DEMO=true docker compose up --build 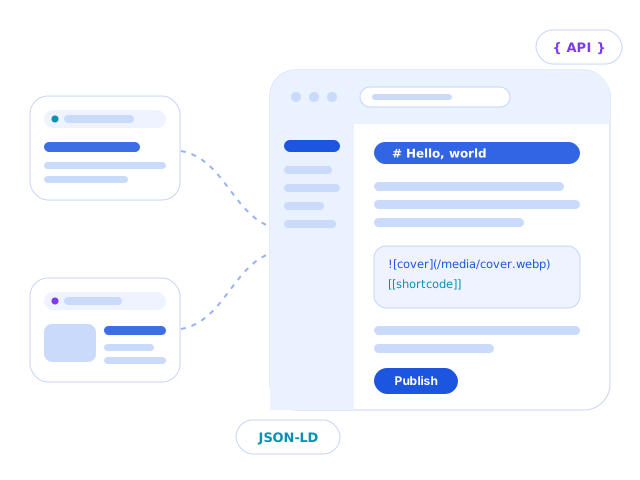
Guides
Section titled “Guides”AI agents over MCP
Claude Code, Codex and Cursor write, publish and SEO-check content with an API key and the user's role.
Many sites, one CMS
Each site has its own content, domain, branding and team. Add a new site from the admin panel.
Markdown editor
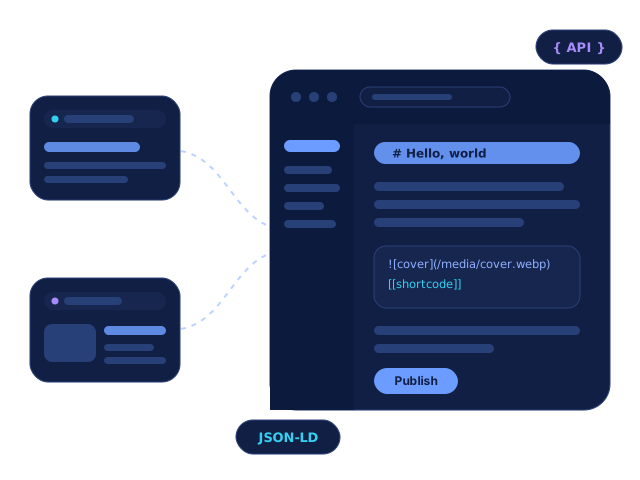
A WYSIWYG editor that stores plain Markdown, with media-library images and shortcodes.
SEO and JSON-LD
RankMath-style title/description templates, generated JSON-LD, SEO audit, internal-link suggestions and redirects.
Media library
Folders, image editing, import from URL. Store on Cloudflare R2 or right on the server disk.
Roles and permissions
Super admin, admin, editor and author, scoped per site. Everyone sees only their own work.
Migrate from WordPress
Import posts, taxonomies, media, SEO, menus, comments and redirects, with a review gate before anything is written.
Headless REST and GraphQL
Use Next.js, Astro or any frontend. Content is scoped per site and Markdown is already rendered to HTML.
Self-host with Docker/Coolify
One docker compose command runs Postgres and the app. A demo site is included.
Try it in four steps
Section titled “Try it in four steps”Get the code
Clone the repository from GitHub.
git clone https://github.com/kdigivn/kdigi-cms-open.git Step 2 Run with Docker
Postgres and the app start together, with a demo site.
SEED_DEMO=true docker compose up --build Step 3 Open the admin panel
Create the first account and explore the demo site.
http://localhost:3000/admin Step 4 Connect a frontend
Fetch content over REST or GraphQL.
GET /api/posts?where[tenant][equals]=<site-id>